Setup checklist
The Finish setting up card sits at the top of the Dashboard and tracks five steps. It is not decoration. Each step is checked against the real state of your store, so a step ticks itself the moment the underlying condition is true, and it will not tick simply because you visited the page.
This article covers what each step does and, more importantly, precisely what makes it count as done. If your checklist looks stuck, the answer is almost certainly in the section on step 3.
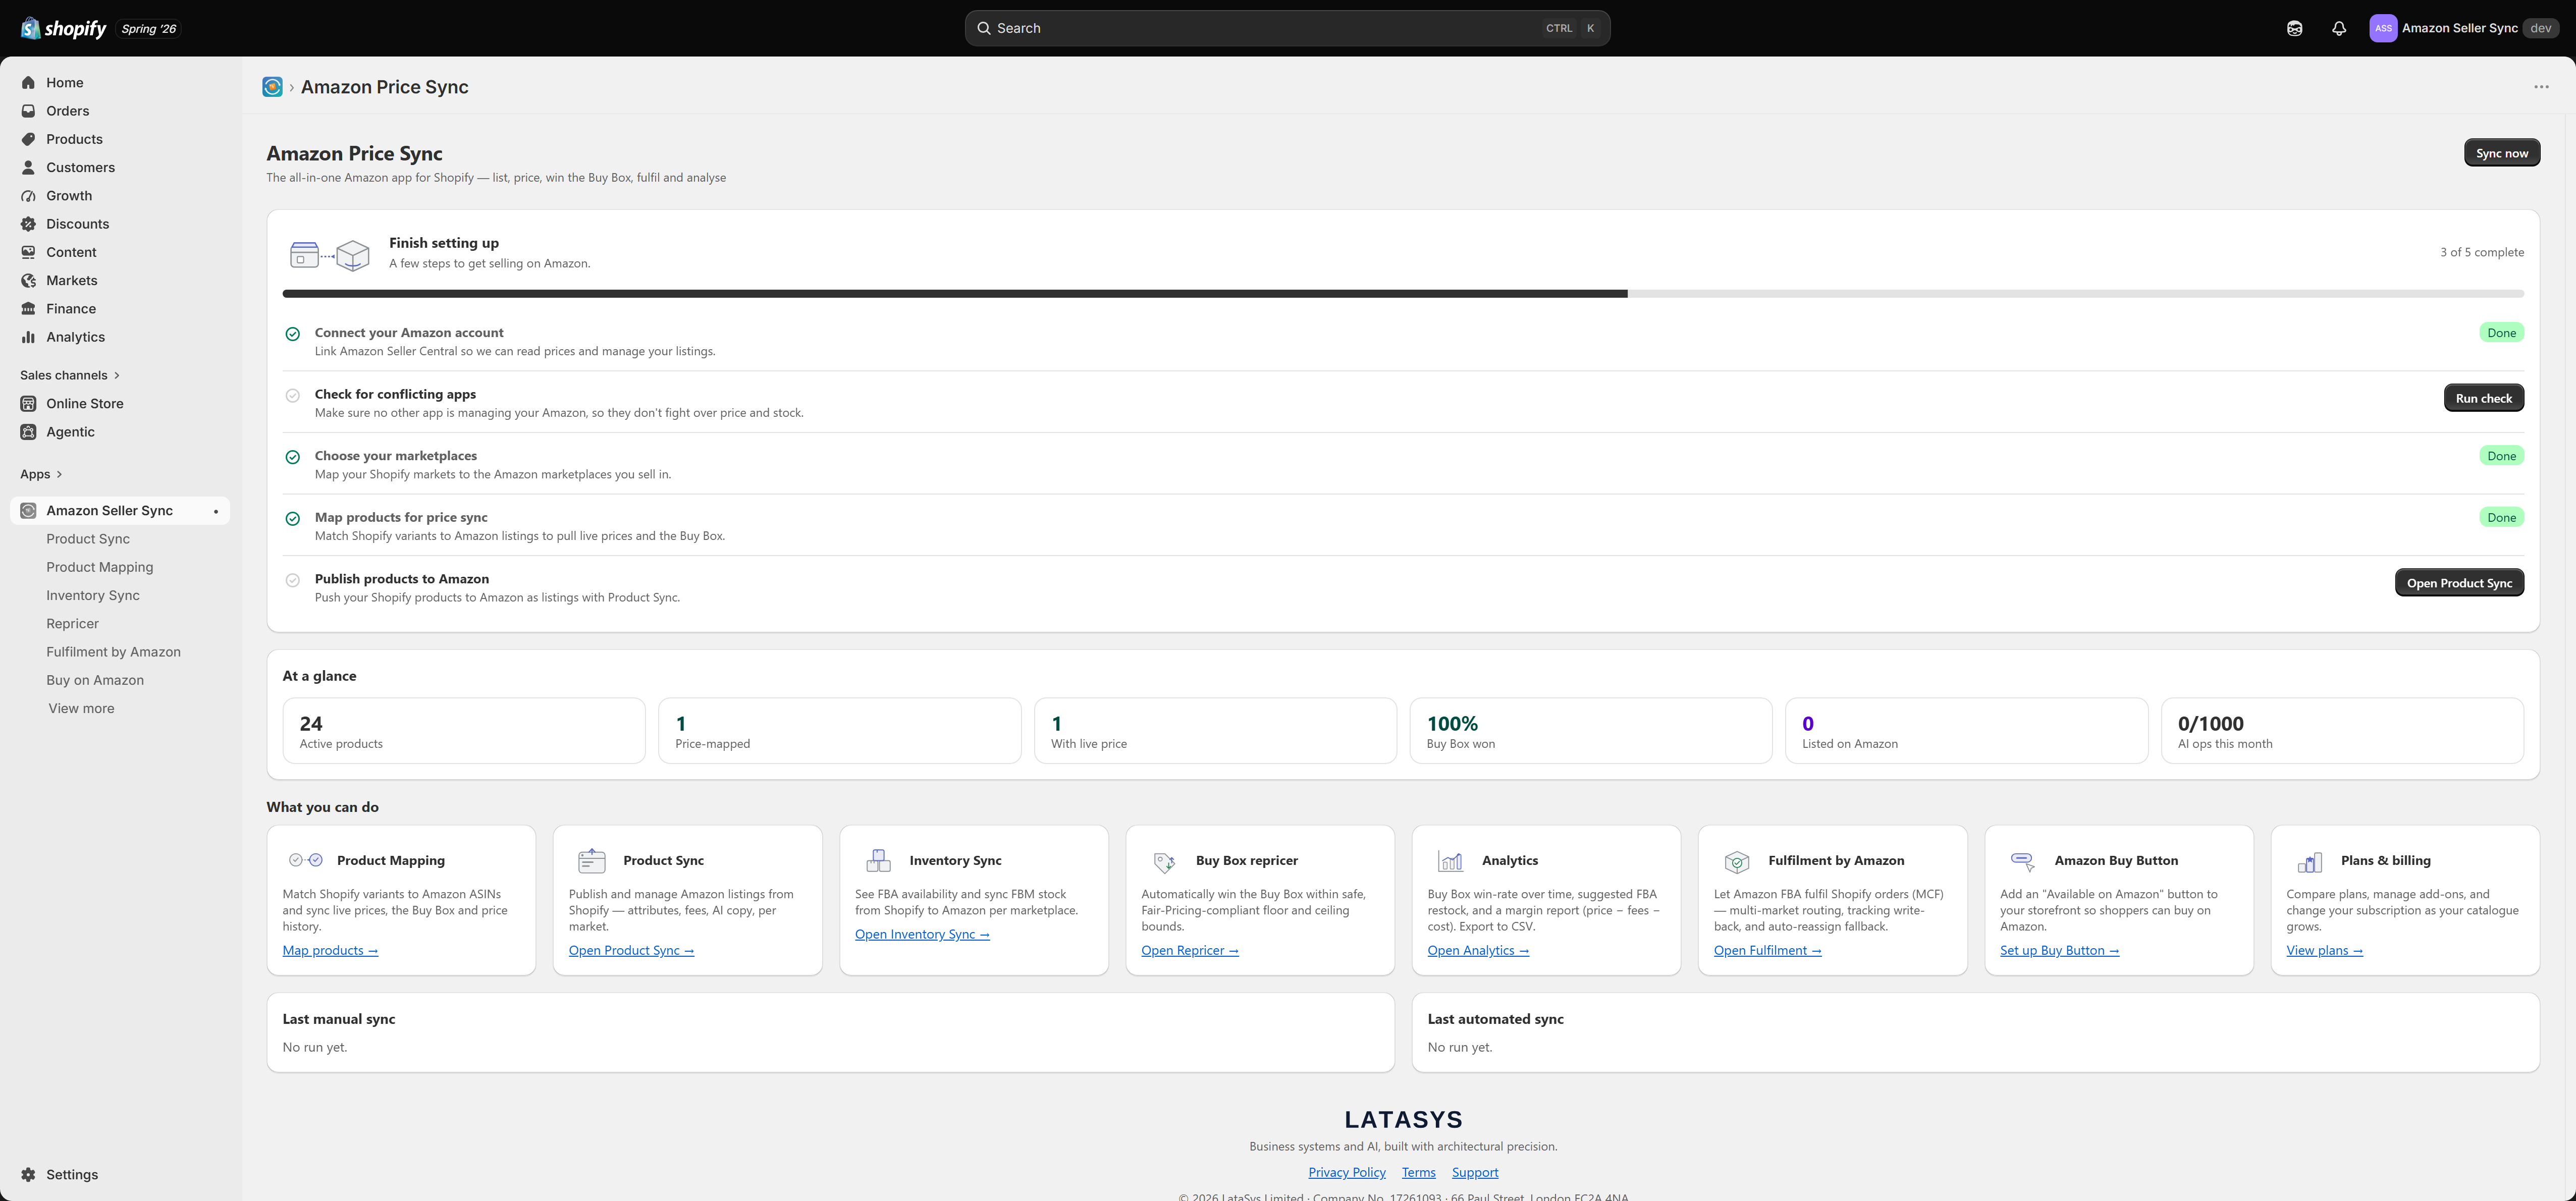
Step 1: Connect your Amazon account
Choose your Amazon region (North America, Europe or Far East) and authorise the app in Seller Central. On return, the app discovers which marketplaces your account may sell in.
Marked done when: at least one Amazon account is connected.
This is the only step that is a genuine prerequisite for the others. Without it, price sync has nothing to read, Product Sync has nowhere to publish, and Sync now stays disabled.
Full detail: Connecting Amazon Seller Central.
Step 2: Check for conflicting apps
The app scans your store for other Amazon apps, because two apps writing to the same listings will make price and stock flap back and forth. If one is found, you tick which of the four functions it handles, disable them in that app, then recheck.
Marked done when: you have acknowledged the check. That means either the check found nothing, or you worked through the modal and confirmed. It is a warning rather than a hard block, so you can override a persistent detection and continue.
Full detail: Check for conflicting apps.
Step 3: Choose your marketplaces
This is where you tell the app which Amazon marketplace is your default (home) marketplace, and, on paid plans, map individual Shopify markets to specific Amazon marketplaces. The home marketplace drives automated price sync and the home price, and it is what the storefront blocks fall back to. You set all of this on the Markets tab in Settings.
Marked done when: a market mapping is explicitly saved.
That sentence is the single most important line on this page, so read it again carefully.
Why this step looks stuck
When you connect an Amazon account, the app already knows your authorised marketplaces, and it can infer a sensible default from them. So the Markets tab may already look correct: your home marketplace is showing, and it is the one you would have picked anyway.
An inferred default does not complete the step. The checklist is looking for a mapping you actually saved, not one the app worked out on your behalf. Until you open Settings, go to the Markets tab, and save, step 3 stays open, and so the checklist never reaches "You're all set".
This is by far the most common reason merchants think the setup guide is broken.
The fix takes about ten seconds.
- Open Settings and select the Markets tab.
- Set your default (home) marketplace. If the value you want is already shown, that is fine, but you must still save it.
- Add any per-market overrides your plan allows.
- Save.
Step 3 will now tick.
Note
Per-market overrides are plan-limited. Free gets none, so on Free you set the default marketplace only and that is all you need to save. Growth allows 3 overrides, Growth + Markets 10, and Full effectively unlimited.
Full detail: Market mappings.
Step 4: Map products for price sync
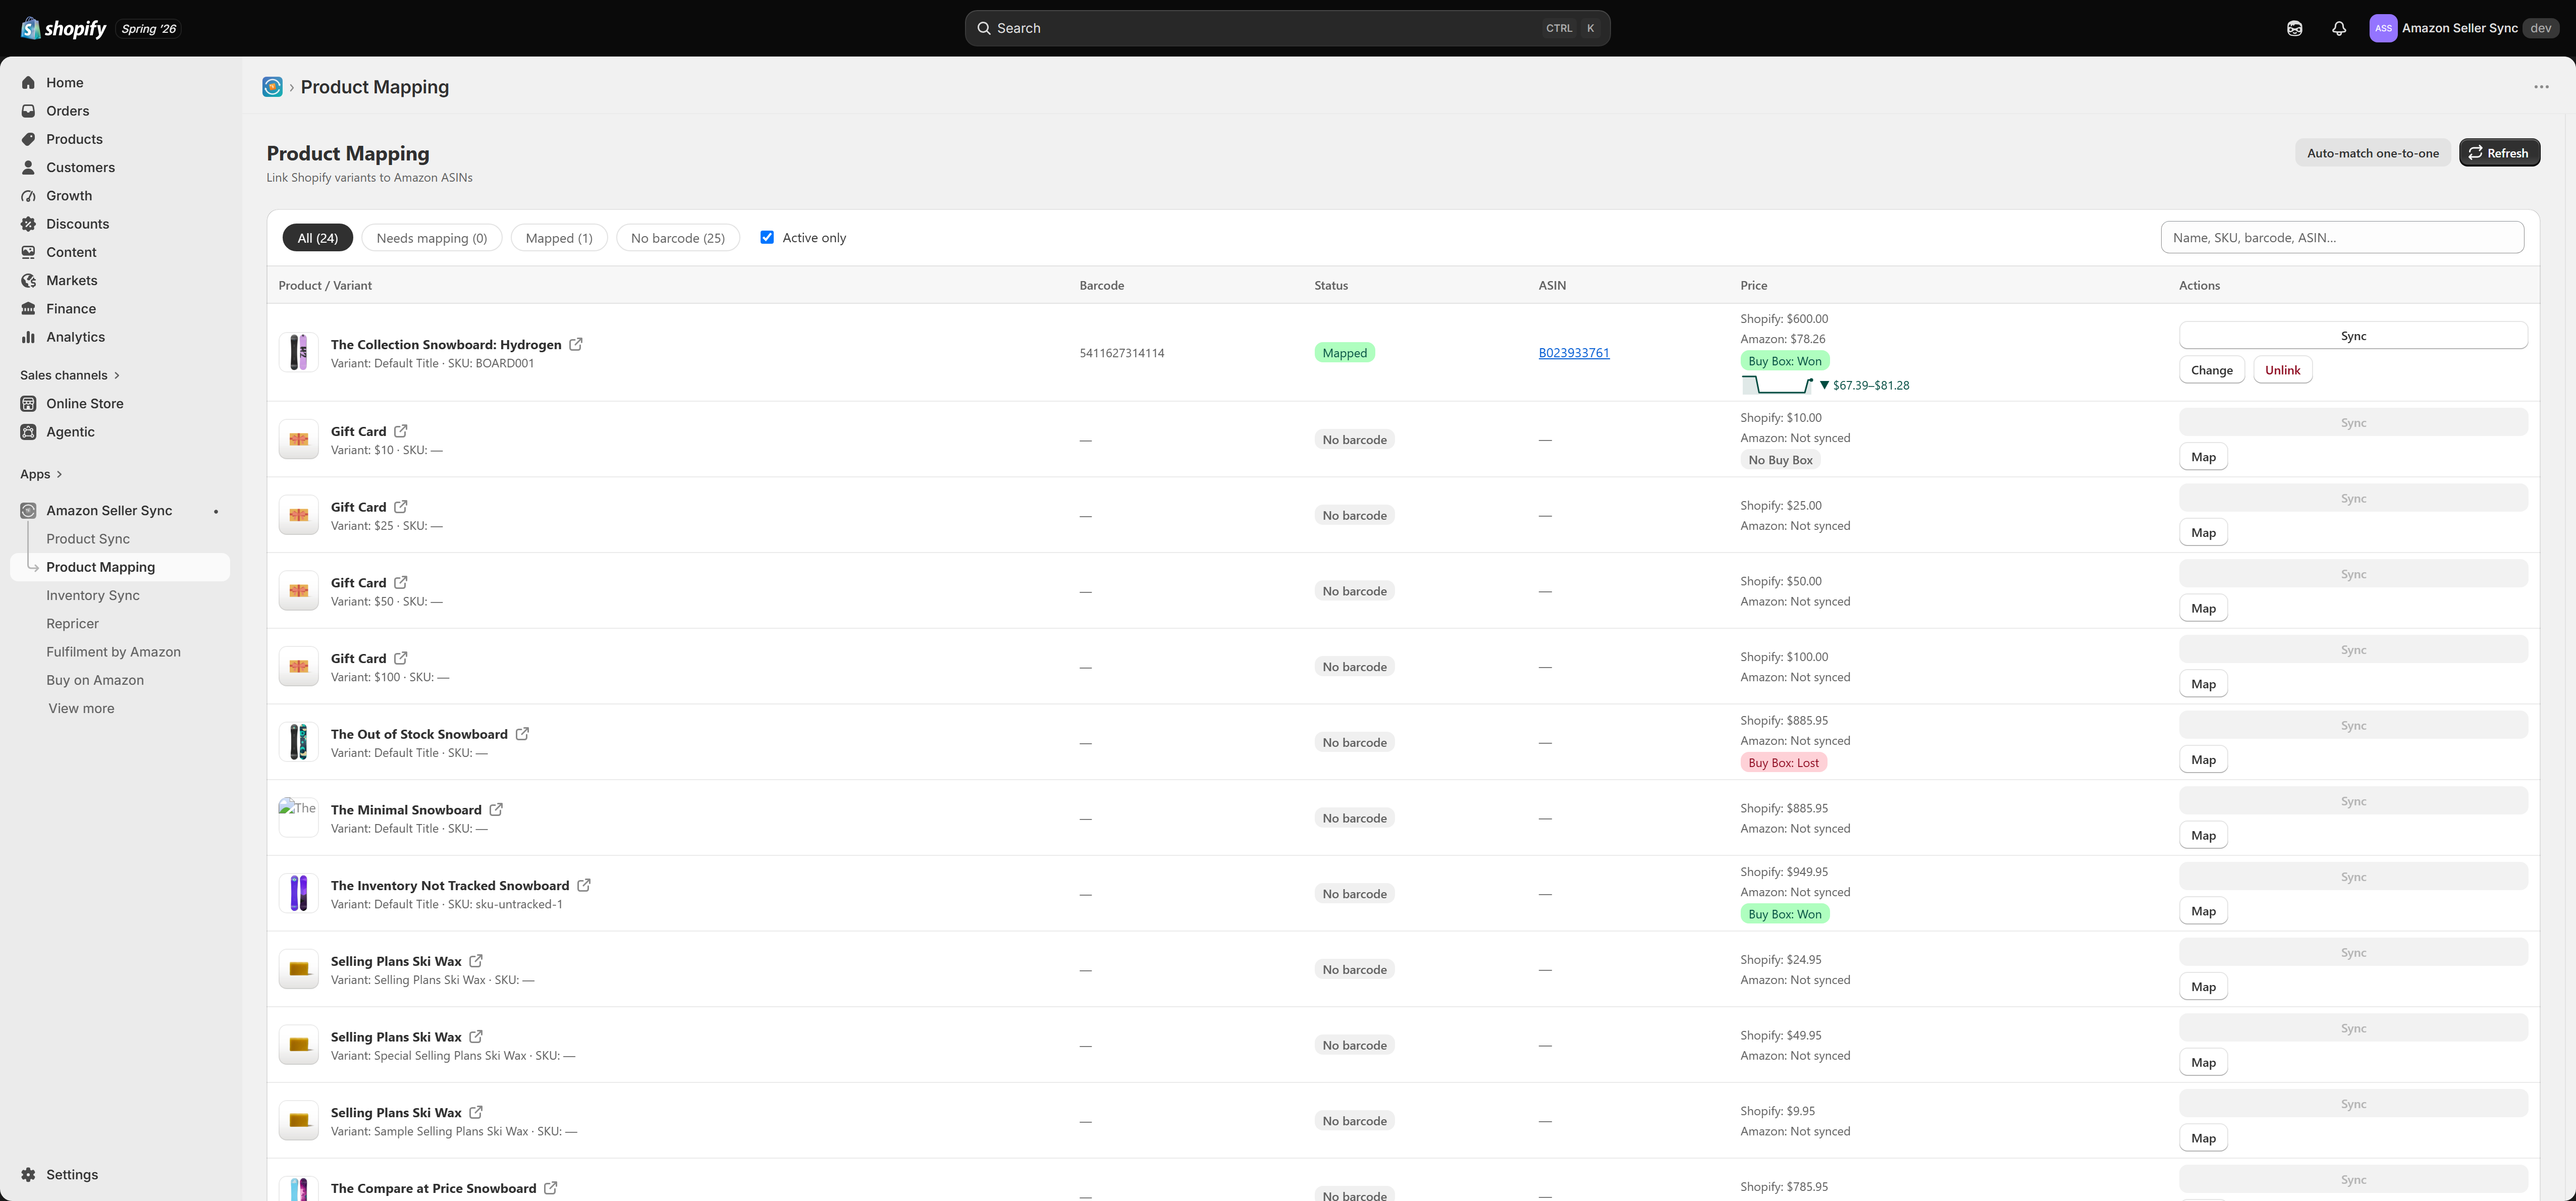
Link Shopify variants to Amazon ASINs on the Product Mapping screen, so the app can pull live Amazon prices and Buy Box status back into your store. You can use Auto-match one-to-one, which matches by barcode only, or map products by hand using the Map modal, which searches Amazon by barcode, ASIN or product name.
Marked done when: at least one product is mapped. One is enough. You do not have to finish your whole catalogue to clear the step.
Full detail: Product Mapping.
Step 5: Publish products to Amazon
Use Product Sync to publish Shopify products as real Amazon listings. Before anything can be pushed you need to select your target marketplaces, set an Amazon product type for the product's Shopify category, and make sure the product's Shopify Brand (vendor) and Description are filled in.
Marked done when: at least one product is listed on Amazon.
Product Sync requires a paid plan. If you are on Free, this step will not complete, and that is expected rather than a fault. Price sync, the Buy on Amazon button and Fulfilment by Amazon all work on Free without it.
Full detail: Product Sync.
"You're all set"
When all five steps are complete, the card changes to say You're all set and offers Hide setup guide.
Hiding the guide only removes the card from the Dashboard so you get your screen back. It does not switch anything off, and it does not undo any step. The space is then given over to the At a glance tiles, the Sync health card, and the two run cards showing your last manual sync and last automated sync.
Tip
If you are on the Free plan and step 5 will never complete, you can still work normally. The card simply stays visible with four of five steps ticked. Upgrade when Product Sync becomes worth it to you, and the last step will tick on your first successful listing.
If a step still will not tick
- Step 1 will not tick. The authorisation did not complete. Try Reconnect from Settings, and check you are signing in to a Seller Central account in the region you selected.
- Step 3 will not tick. You have almost certainly not saved a mapping. See above. Open Settings, then Markets, then save.
- Step 4 will not tick. No variant is mapped yet. Auto-match only matches by barcode, and it skips any variant with no result or more than one result, so a catalogue without barcodes needs manual mapping.
- Step 5 will not tick. Either you are on Free, or the listing has not reached Listed yet. Check the listing status badge on the product: Needs type means you still owe Amazon a product type, and Issues means Amazon rejected something.
More help: Troubleshooting.
Related Articles
Getting started
This page is the whole first-run journey in one place: install the app, choose a plan, then complete the five step setup checklist that takes you from an empty screen to live Amazon listings. Each step has a detailed article of its own, linked below. ...Mapping Shopify markets to Amazon marketplaces
Shopify has markets. Amazon has marketplaces. Settings > Markets is where you tell Amazon Seller Sync how the two line up, so the app knows which Amazon price belongs to which of your shoppers. There are two separate things on this tab, and they do ...Check for conflicting apps
Check for conflicting apps is step 2 of the setup checklist. It exists to stop a specific and expensive failure: two apps writing to the same Amazon listings at the same time. It takes a couple of minutes and it is worth doing properly, even if you ...Connecting Amazon Seller Central
Connecting your Amazon Seller Central account is the first step in the setup checklist, and it is the one thing every other feature depends on. Until an account is connected, price sync has nothing to read, Product Sync has nowhere to publish, and ...Amazon Seller Sync
Interactive walkthrough Prefer to see it in action? Open the guided walkthrough, an animated, click-by-click tour you can play automatically or step through yourself. Amazon Seller Sync is an embedded Shopify app that joins your Shopify store to your ...